
How I Do My Brows
Everyone has that one feature or talent that they were just blessed from the Gods with. Mine is my eyebrows. I get SO many compliments on my eyebrows. Even though they have presented me with some life challenges like permanent RBF, I must say, I do love them. Both my parents have great brows, but honestly, I have no idea where the hell my eyebrows came from. They are the perfect (in my opinion) mix between bushy and neat, and have the perfect natural arch. Whether I have makeup on or not, they are pretty thick and definitely stand out. I don’t mean to brag, but hey, this is my one thing. Let me roll with it.
I am constantly asked what I do to my eyebrows and what products I use to define them. I have finally decided to share my eyebrow regimen with you!
Step 1:
For me, the most important step in taking care of your eyebrows is maintenance. I only get my eyebrows waxed once a year (if that), and when I do, the Esthetician always asks why I’m even there. The key to brow grooming is upkeep plucking. Keep a good pair of tweezers around at all times. You never know when you might get some bomb ass lighting. I am not exaggerating when I say that I pluck my eyebrows literally every day. As soon as you see little hairs growing in and stubble starting to form, pluck those suckers right out, but make sure you don’t try to pluck them until they have already broken the skin. If you dig around trying to get them out too early, you might break the skin and cause scabbing. Try plucking your eyebrows as soon as you get out of the shower. Your pores will be open from the hot water, so the hairs will come out more easily, and it may even be a little less painful. A good rule of thumb while plucking is that if you’re unsure of whether a hair needs to go, it probably doesn’t. It’s much better to have one extra hair than to throw your whole arch outta wack.

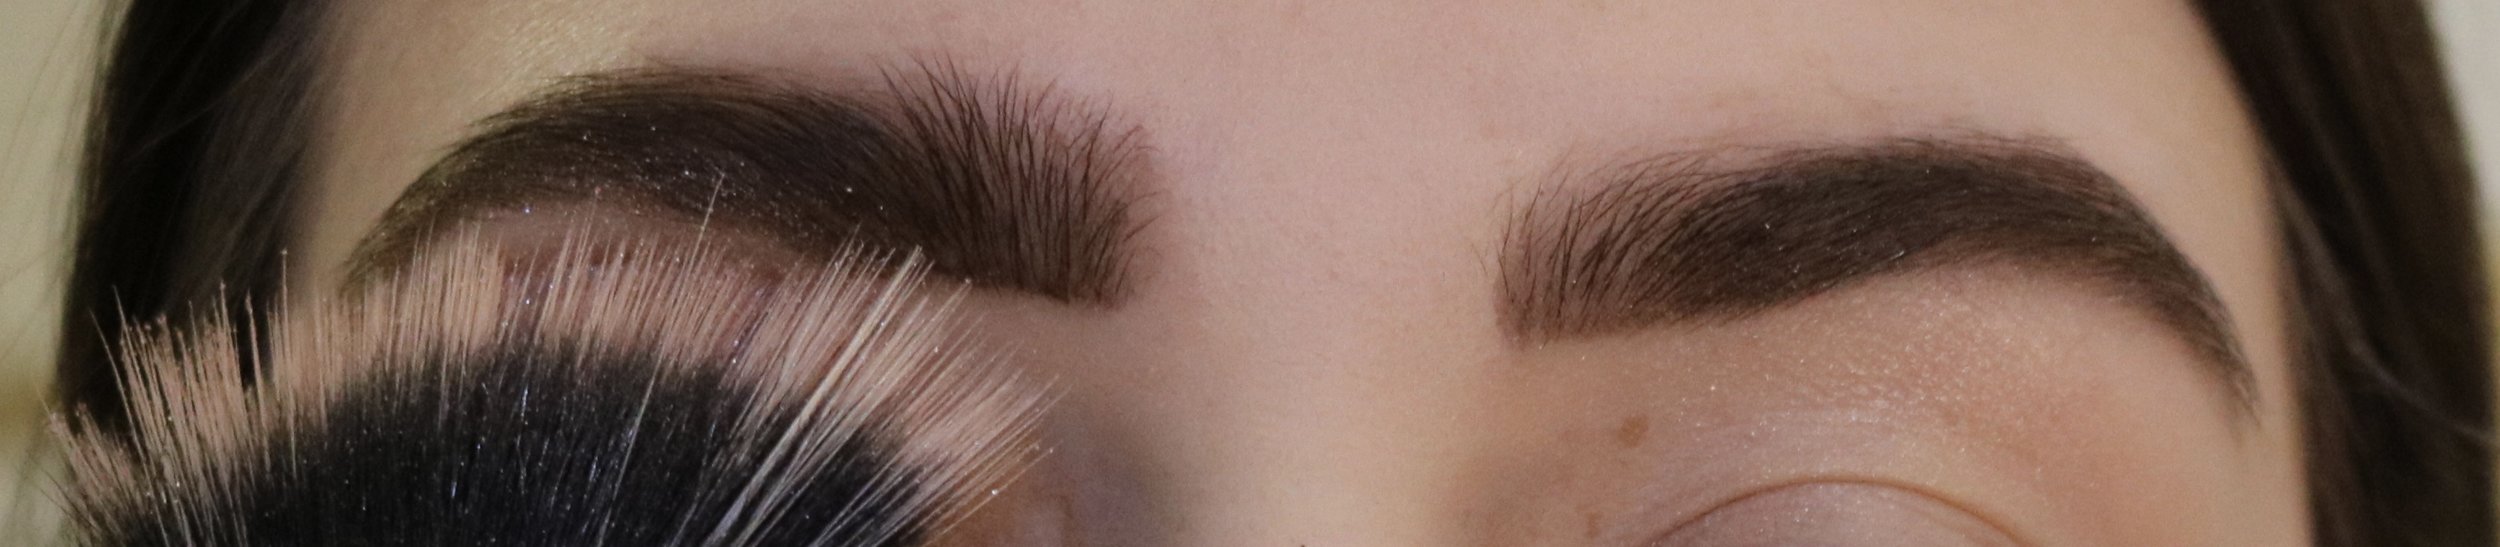
Here is an awkward pic of my bare brows. You can see how one brow grows a little funky and lays the wrong direction.
Step 2:
Brush those bad boys. Sometimes my eyebrows get a little cray cray and decide they want to lay in the opposite direction. Now unless you’re losing your mind and actually think the feather trend is cute, chances are, you want your eyebrows to lay in the right direction. Use a basic brow brush or dry toothbrush (obvi not one that you use on your teeth) to gently guide your brows in the direction of your natural arch. Try not to brush too hard, as it may cause tugging and even shedding of your brow hairs. I use the Anastasia Beverly Hills double ended Brow Definer, in Dark Brown. It makes transitioning out of step 2 and into step 3 a breeze.

Step 3:
I use the pencil side of my Brow Definer to carefully outline my eyebrows. Using the tapered end, I trace along the bottom of my eyebrows and partially along the top. I lightly color in my brows by brushing the pencil through my brows in the same direction as my hairs lay. Less is more in this instance. If you press too firmly with the pencil, it can cause a cakey appearance and pigment fall out.

I always outline by brows, starting from the underside.

I never fully outline my brows. I stop on the topside just before I get to the end of my brows.

Step 4:
I smooth out my pencil lines by using the brush end to smudge out my brows. I carefully keep the brush within the boundaries of my brows, so I don’t cause any smudging outside my brow line. If you do happen to smudge a bit outside of the lines, use a dry q-tip to clean up around your brows.

Step 5:
I already have pretty defined brows, but I love to make them pop a bit more by applying highlighter along my brow bone. I’m not a huge fan of using concealer around my brows. I think it looks amazing, but I hate the feeling on my skin. I don’t wear foundation very often, so it’s a bit unnecessary for me. Highlighter does the trick by giving me a more I-can’t-tell-if-that’s-sweat, looking-like-a-Krispy-Kreme vibe rather than a brows-so-sharp, slay-my-life vibe. Both are nice. Krispy Kreme is more my thing.
Look at all that glitter!
Step 6:
Last but not very not least, I apply a thin coat of brow mascara. I started using clear brow mascara when I was in middle school. My right eyebrow likes to play games with me and lay in the wrong direction. I found that by using brow mascara, my crazy brow hairs stayed in place a bit better. As I’ve gotten older and started filling my brows in, I’ve graduated to big girl brow mascara. Since it’s just a light coat, I don’t believe you need a state of the art-super expensive brow mascara. I use NYX Brow Mascara in Espresso. You can get it at any drugstore, so it comes at a super affordable price. I make sure to brush it onto my brows gently, so the bristles only touch my hairs and not my skin. It looks a bit inky when it gets on your skin.

Boy, do I need to trim that brow or what?
And voila!

This lighting is the bomb.com. I wish my eyes always looked this light.
Everyday, I follow those 6 steps to get perfect brows. It may sound like a long process, but it really only takes about 2-3 minutes. And as you practice, you get much faster at filling those puppies in. If you’re unsure about which color pencil or mascara to pick, just ask! It’s always okay to go a shade darker on your brows. Just be sure not to pick a color that’s way too dark. You want to make sure your brows look natural, meticulously curated and carefully colored in, but natural.
To shop my favorite brow products, click the links below!

xoxo,
Zoey Leigh